BAT PREPARATION GUIDE
BAT PREPARATION GUIDE
Congratulations on purchasing a handcrafted FLETCHER cricket bat.
To ensure maximum performance, resilience and longevity of your new cricket bat, it is important that a proper preparation process is completed before use. The following oiling and knocking in process is recommended for cricket bats purchased from Image
N.B. FLETCHER cricket bats have been oiled before leaving the workshop and will generally only need one more light oiling before the knocking in process.
OILING
Time: 10mins application then leave overnight.
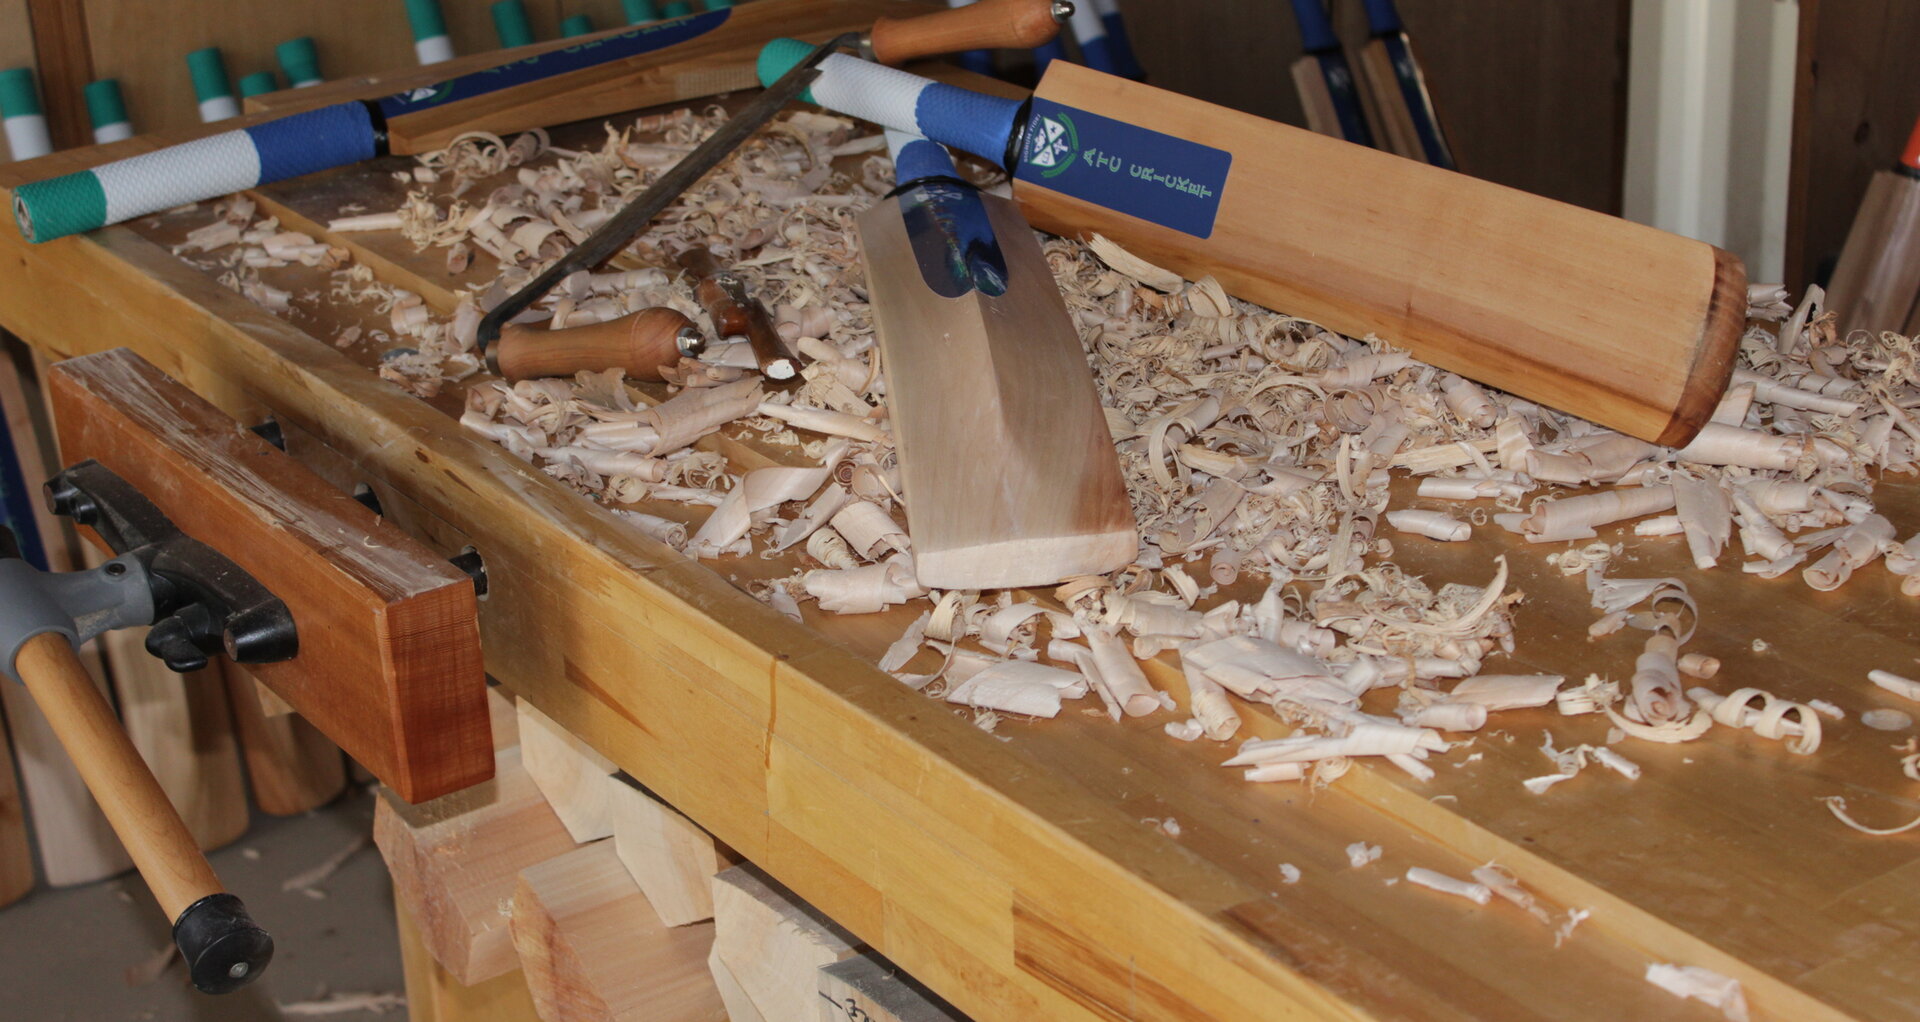
Process: Lay the bat horizontally, face up.
With a soft cloth or tissue, oil the edges, toe (if no toe guard fitted) and face of the bat to the bottom of the sticker using about a teaspoon of
Raw Linseed Oil or Bat Oil
(do not oil the back of the bat or area around the handle spring). Let the oil soak in overnight.
KNOCKING IN
Time: Stage 1: 3 hours. ie 10-12 15min sessions.
Stage 2: 1 hour
Stage 3: 1 hour
Stage 4: 1 hour
Process:
STAGE 1: If the oil has soaked in, start by hitting the middle of the bat with a hardwood bat mallet just hard enough to create a dent. Hold the bat
up to the light to see if you are making a dent. Gradually compress the face of the bat around this dent so that the face of the bat is level and you cannot see the initial dent any more. Ensure the full face of the bat from the sticker down is compressed.
The edges should be struck at 45 degrees to the face so that the mallet can compress the willow. Similar to the face make one dent on the edge, and then gradually even out the edge so that the whole surface has a smooth, rounded appearance.
STAGE 2: Once the initial knocking in with the mallet is completed the bat is ready to receive throw downs with an old, good quality ball. DO NOT use hard plastic or compo balls as these may damage your bat at this stage of preparation. If there are deep seam marks or slight indentations left in the bat face repeat Stage 1 and 2 of the process, otherwise proceed to
the next stage.
N.B. You will always get seam marks on the face of the bat, however they should not be too deep.
STAGE 3: Move on from throw downs to using your bat against slow to medium pace bowling - still with an old, good quality ball. Once again if there are deep seam marks or slight indentations left in the bat face repeat Stage 1,2 and 3 of the process, otherwise proceed to the next stage.
STAGE 4: By now your bat should be ready to face medium pace bowling with a good quality newer ball. Play mainly defensive and gentle attacking strokes for the first hour of use, all the time checking the face for indentations. As before if there are deep seam marks or slight indentations left in the bat face repeat Stage 1,2 and 3 of the process, otherwise your bat is now ready for match day.
Well done on being patient and taking the time to knock your bat in properly.
Warranty
We guarantee FLETCHER bats against manufacturing defects for a period of 12 months from the date of purchase. Our guarantee does NOT cover damage to the bat caused by incorrect preparation, unreasonable use or fair wear and tear. For more details on our Warranty please visit our Returns & Warranty policy.
ABOUT US
SERVICE


